

A ceiling light can work normally at full brightness and begin flickering as soon as it is dimmed. It may also buzz, switch off near the lowest setting or remain faintly lit after the wall control is turned off.
These problems do not always mean the fixture is defective. Smooth LED dimming depends on the light source, driver, dimmer, connected load and wiring working together.
Choose the ceiling light and dimmer as a matched system, not as two separate products.

Find the Exact Dimming Method
The word dimmable does not tell you which wall control to buy.
Look for a specific dimming method in the product specifications:
- TRIAC or forward-phase
- ELV or reverse-phase
- 0–10V
- DALI
- Remote or app control
- Non-dimmable
These control methods are not automatically interchangeable. They may require different drivers, wall controls or wiring.
A TRIAC-compatible ceiling light normally needs a suitable phase-cut LED dimmer. A 0–10V fixture requires a compatible driver and usually a separate pair of control wires. A fixture that dims through its own remote may be designed for a standard on/off wall switch rather than an additional wall dimmer.
A smart dimmer is not automatically compatible with every LED fixture. The underlying dimming method still needs to match the driver.
When a product page says only "dimmable," ask which control method the fixture supports before ordering.

Check Whether the Fixture Uses Bulbs or Integrated LED
Replaceable-bulb fixtures and integrated LED fixtures should be checked differently.
Replaceable-Bulb Ceiling Lights
For a fixture using E26, E12, GU10 or similar bulbs, confirm that:
- Every bulb is labeled dimmable
- The bulbs are compatible with the selected dimmer
- All bulbs in the fixture are the same model
- The total LED load is within the dimmer's rating
Mixing different LED bulbs in one fixture can produce uneven dimming. One bulb may begin flickering or switch off before the others because each bulb contains its own electronic components.
Integrated LED Ceiling Lights
An integrated LED fixture has a built-in LED module and driver. The driver determines:
- Which dimming system the fixture supports
- How low the light can dim
- Whether it can dim all the way to off
- Which wall controls are compatible
Integrated construction does not automatically guarantee smoother dimming. The driver must support the selected control method, and the driver–dimmer combination should be tested for compatibility.
Poor matching may not be noticeable at full brightness but can cause flicker, uneven dimming or sudden shutoff at lower levels.

Check the Available Compatibility Information
Check whether the product page names the dimming method, the required control type or any tested dimmer models. Some fixtures provide a full compatibility list, while others only identify the control system they support.
Before ordering, confirm as much of the following as possible:
- The exact dimming method
- The required wall-control type
- Any recommended or tested dimmer models
- The minimum stable brightness, when available
A matching control type is the first requirement, but exact-model compatibility is still worth checking when that information is available. Two products may both be designed for LED use and still behave differently near the lowest brightness setting.
When a tested dimmer model or minimum dimming level is not listed, ask the seller before ordering. For a larger installation, test one fixture with the planned dimmer before installing the full group.

Check How Low the Light Can Dim
Many product pages say that a fixture is dimmable without explaining its actual dimming range.
Some fixtures list a minimum dimming level, such as 10%, 5% or 1%. Others may support dim-to-off, while some product pages simply state that the light is dimmable. When the minimum stable brightness is not listed, ask the seller to confirm it before ordering.
A fixture that dims to 10% may work well in a kitchen or living room but still feel too bright for low evening light in a bedroom.
The lowest part of the dimming range is also where instability often appears. The light may begin to pulse, jump in brightness or switch off before the dimmer reaches its lowest position.
Do not judge the result only by the percentage shown on the wall control. A slider set to 10% does not necessarily mean the fixture is producing exactly 10% of its full light output.
What matters is the fixture's minimum stable light level.

Check the Dimmer's LED Load Range
A dimmer that worked with incandescent bulbs may not perform well with a low-wattage LED fixture.
Check:
- The dimmer's LED wattage rating
- Any minimum-load requirement
- The number of bulbs or drivers it can control
- Whether the rating changes in a multi-gang wall box
- The combined wattage of all fixtures on the circuit
Some dimmers show separate ratings for LED and incandescent loads. Do not rely only on the largest wattage printed on the packaging.
Even a low-wattage fixture can flicker if the dimmer expects a higher minimum load.
When several ceiling lights share one control, check both the total wattage and the number of drivers. Several small electronic drivers do not always behave like one larger load.
Choose a Dimmer With Low-End Adjustment
Some LED dimmers allow the lowest usable brightness to be adjusted. This may be described as:
- Low-end trim
- Minimum brightness adjustment
- Low-level adjustment
When a fixture works normally through most of its range but begins flickering or switching off at the bottom, raising the minimum setting slightly may help.
Low-end trim prevents the wall control from entering the part of the range where the fixture becomes unstable.
It cannot make two incompatible dimming systems work together. It is useful only when the light and dimmer are generally compatible but the lowest setting is too low for stable operation.
Check the Wiring and Control Setup
Before ordering the ceiling light, confirm how the room is wired.
Check whether the installation has:
- Single-pole or multi-location control
- A neutral wire in the wall box
- Standard line-voltage wiring
- Separate 0–10V control wires
- One fixture or several fixtures on the same control
- An existing smart-home system
Some dimmers require a neutral wire, while others do not. A 0–10V fixture normally cannot be controlled by installing a standard phase-cut dimmer in its place. The fixture, driver and wiring all need to support the same system.
Smart dimmers should be checked in the same way. Confirm the required dimming method, whether a neutral wire is needed, the supported LED load and whether the fixture has been tested with that type of control.
Also check whether the ceiling light includes its own remote or app.
Some remote-controlled fixtures are designed to use a standard on/off wall switch, while brightness and color settings are handled by the fixture's built-in controller. Connecting an additional wall dimmer may cause unstable operation or interfere with those functions.
What a Good Product Page Should Tell You
A useful product page should provide more than the word "dimmable."
Before ordering an LED ceiling light, look for the following information:
| Specification | What to confirm |
|---|---|
| Light source | Integrated LED or replaceable bulbs |
| Dimming method | TRIAC, ELV, 0–10V or another system |
| Minimum dimming level | Check the listed range or contact the seller |
| Compatible control | Required control type or tested dimmer model |
| Input voltage | Required supply voltage |
| Wall control | Included or sold separately |
| Remote control | Included and whether wall dimming is allowed |
When these details are missing, contact the seller before installation. Confirming them early is easier than replacing a driver, dimmer or wall wiring later.
Common Installation Situations
Replacing an old ceiling light
Do not assume the existing dimmer will work with the new fixture.
An older control may have been designed for incandescent bulbs or a different type of LED load. Check the new fixture's dimming method and compare it with the exact dimmer already installed.
Controlling several ceiling lights together
Use fixtures with matching drivers whenever possible.
Confirm that the combined load and number of drivers are within the control's limits. Different drivers may reach their minimum output at different points, causing one light to appear brighter or switch off before another.

Choosing a fixture with its own remote
Check which functions are handled by the remote and whether the fixture also supports an external wall dimmer. When the instructions call for a standard on/off switch, do not add an unsupported phase-cut dimmer.
Then check whether the fixture can also be used with a wall dimmer. When the instructions call for a standard on/off switch, do not add an unsupported phase-cut dimmer.
Common Mistakes That Lead to Flicker
Common problems often begin before installation:

- Reusing an existing dimmer without checking whether it supports the new LED fixture
- Assuming all LED dimmers are interchangeable
- Mixing different bulb models in one fixture
- Ignoring the lowest part of the dimming range
- Connecting a remote-controlled fixture to an unsupported wall dimmer
Checking these details before installation is much easier than replacing a dimmer or driver after the room is finished.
What to Do When the Light Is Already Flickering
Start with the simplest checks:
- Return the light to full brightness and see whether the flicker stops.
- Identify the exact fixture, driver and dimmer models.
- Check whether the combination is listed as compatible.
- Raise the low-end setting when flicker occurs only near the bottom of the range.
- In a bulb-based fixture, replace all bulbs with the same dimmable model.
- Confirm that the connected load is within the dimmer's LED rating.
- Check whether a built-in remote system is connected to an unsupported wall dimmer.
When the fixture flickers at full brightness, produces unusual noise or remains unstable after compatibility checks, ask a qualified electrician to inspect the wiring, control and fixture.
Do not open the driver or alter line-voltage connections yourself.
Frequently Asked Questions
Why does my LED ceiling light flicker only when dimmed?
The driver–dimmer combination may become unstable at low brightness, or the minimum setting may fall below the fixture's usable range. An incompatible control or insufficient load can cause similar symptoms.
Can any LED dimmer control a dimmable ceiling light?
No. A dimmer and fixture may both be labeled for LED use without being compatible with each other. Check the exact models and the fixture's required dimming method.
Is an integrated LED ceiling light less likely to flicker?
Not necessarily. An integrated design allows the LED module and driver to be selected together, but the external wall control still needs to be compatible.
Does "flicker-free" mean the fixture works with every dimmer?
No. The claim may apply only to a particular driver, control or operating range. Ask which dimmer was used during testing and whether the fixture remains stable through its stated range.
Can low-end trim stop flicker?
It may help when flicker happens only at the lowest setting. It cannot correct a mismatch between two different dimming systems.
Choose the Fixture and Dimmer Together
A good dimmable ceiling light is not defined by one word on the product page.
Before ordering, confirm the light source, driver, dimming method, minimum output, recommended control and wiring requirements. Then choose a dimmer that supports the required control method and LED load, using tested compatibility information when it is available.
When the fixture, driver and control are properly matched, the light is far more likely to dim smoothly without flicker, sudden shutoff or unwanted noise.
Before ordering an integrated LED light, contact Mooijane when the dimming method or driver specification is not clearly listed. Confirming compatibility in advance can prevent flicker, limited dimming and unnecessary changes during installation.
Flush Mount Collection
LED Ceiling Lamps

Sculptural Form
Anela Ceiling Light

Natural Alabaster
Mirezo Ceiling Light
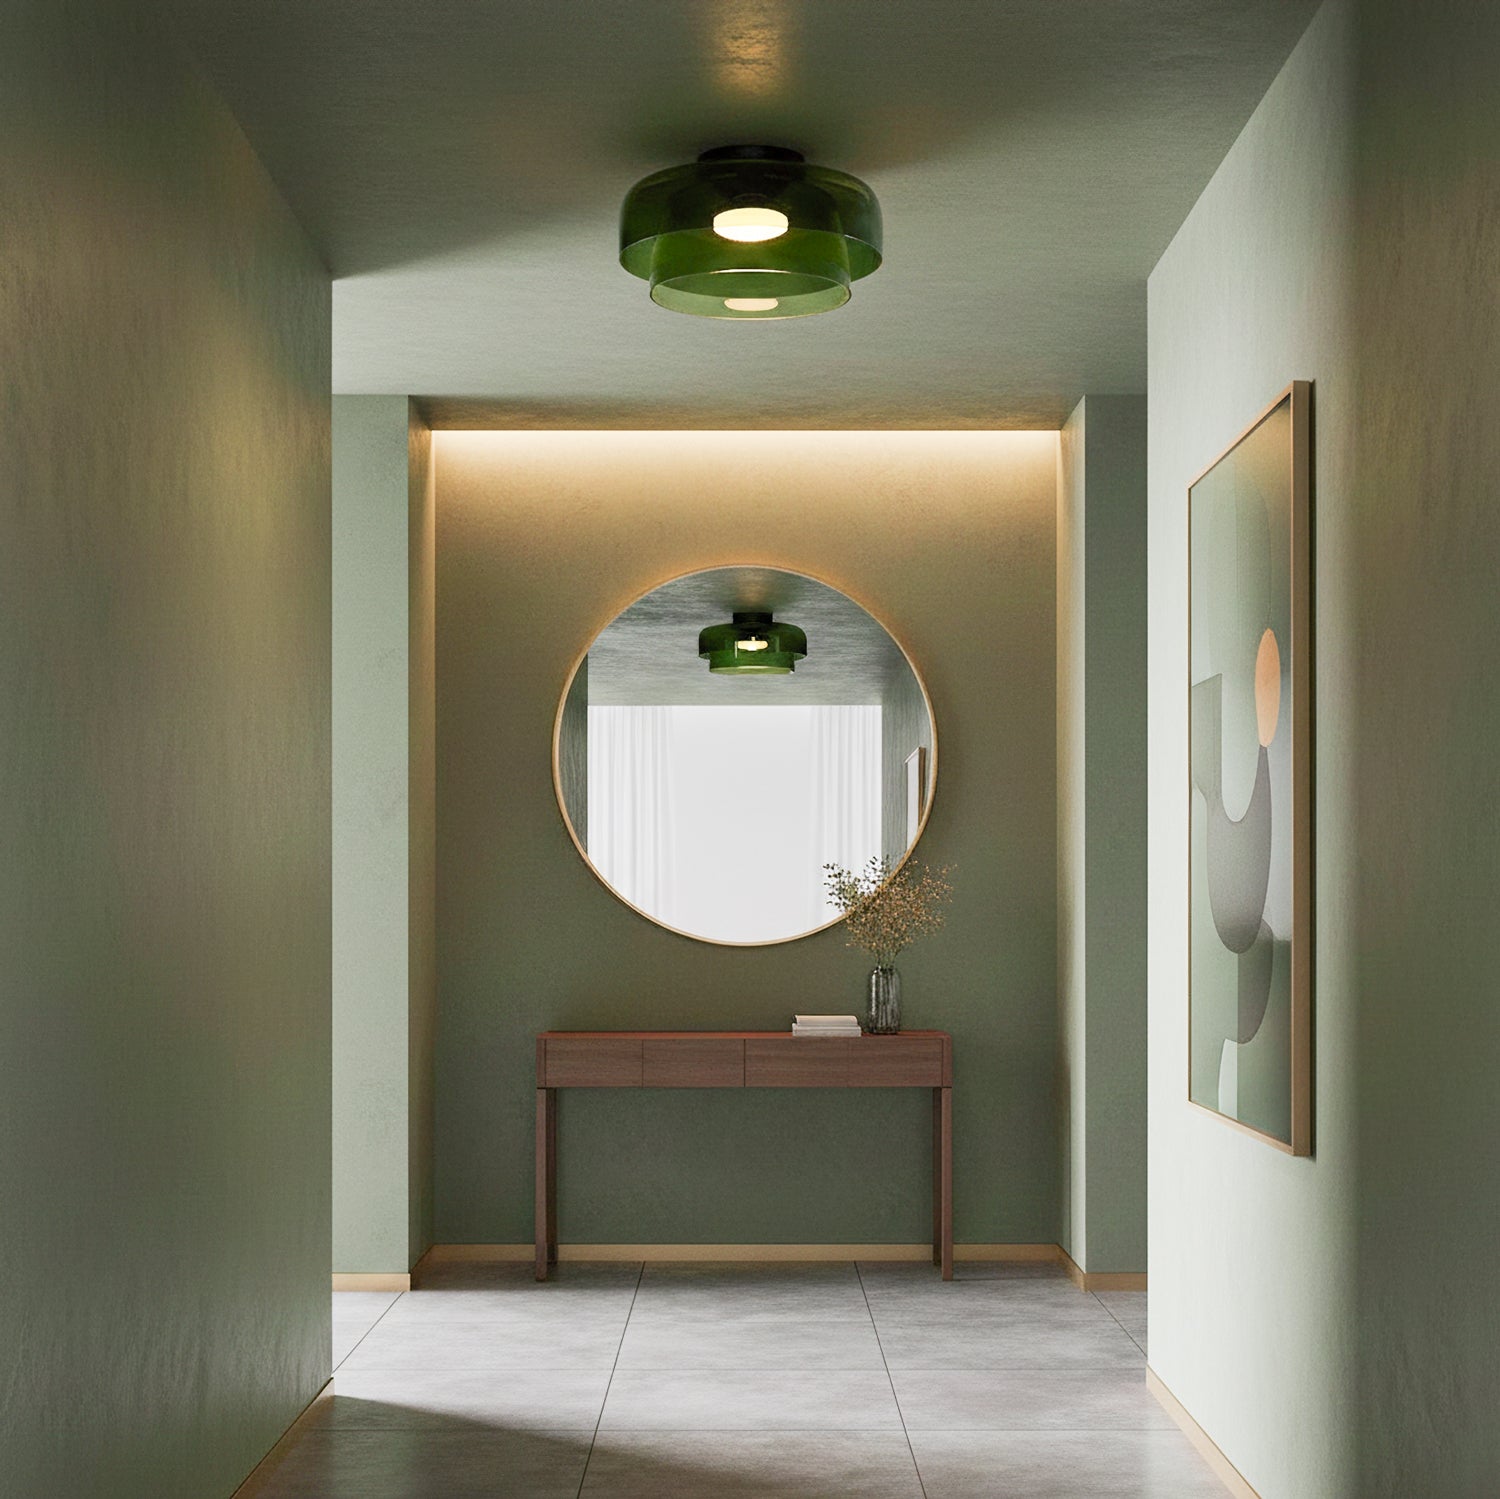
Layered Glass
Levels Ceiling Lamp

Soft Fabric Shade
Ritta Ceiling Lamp
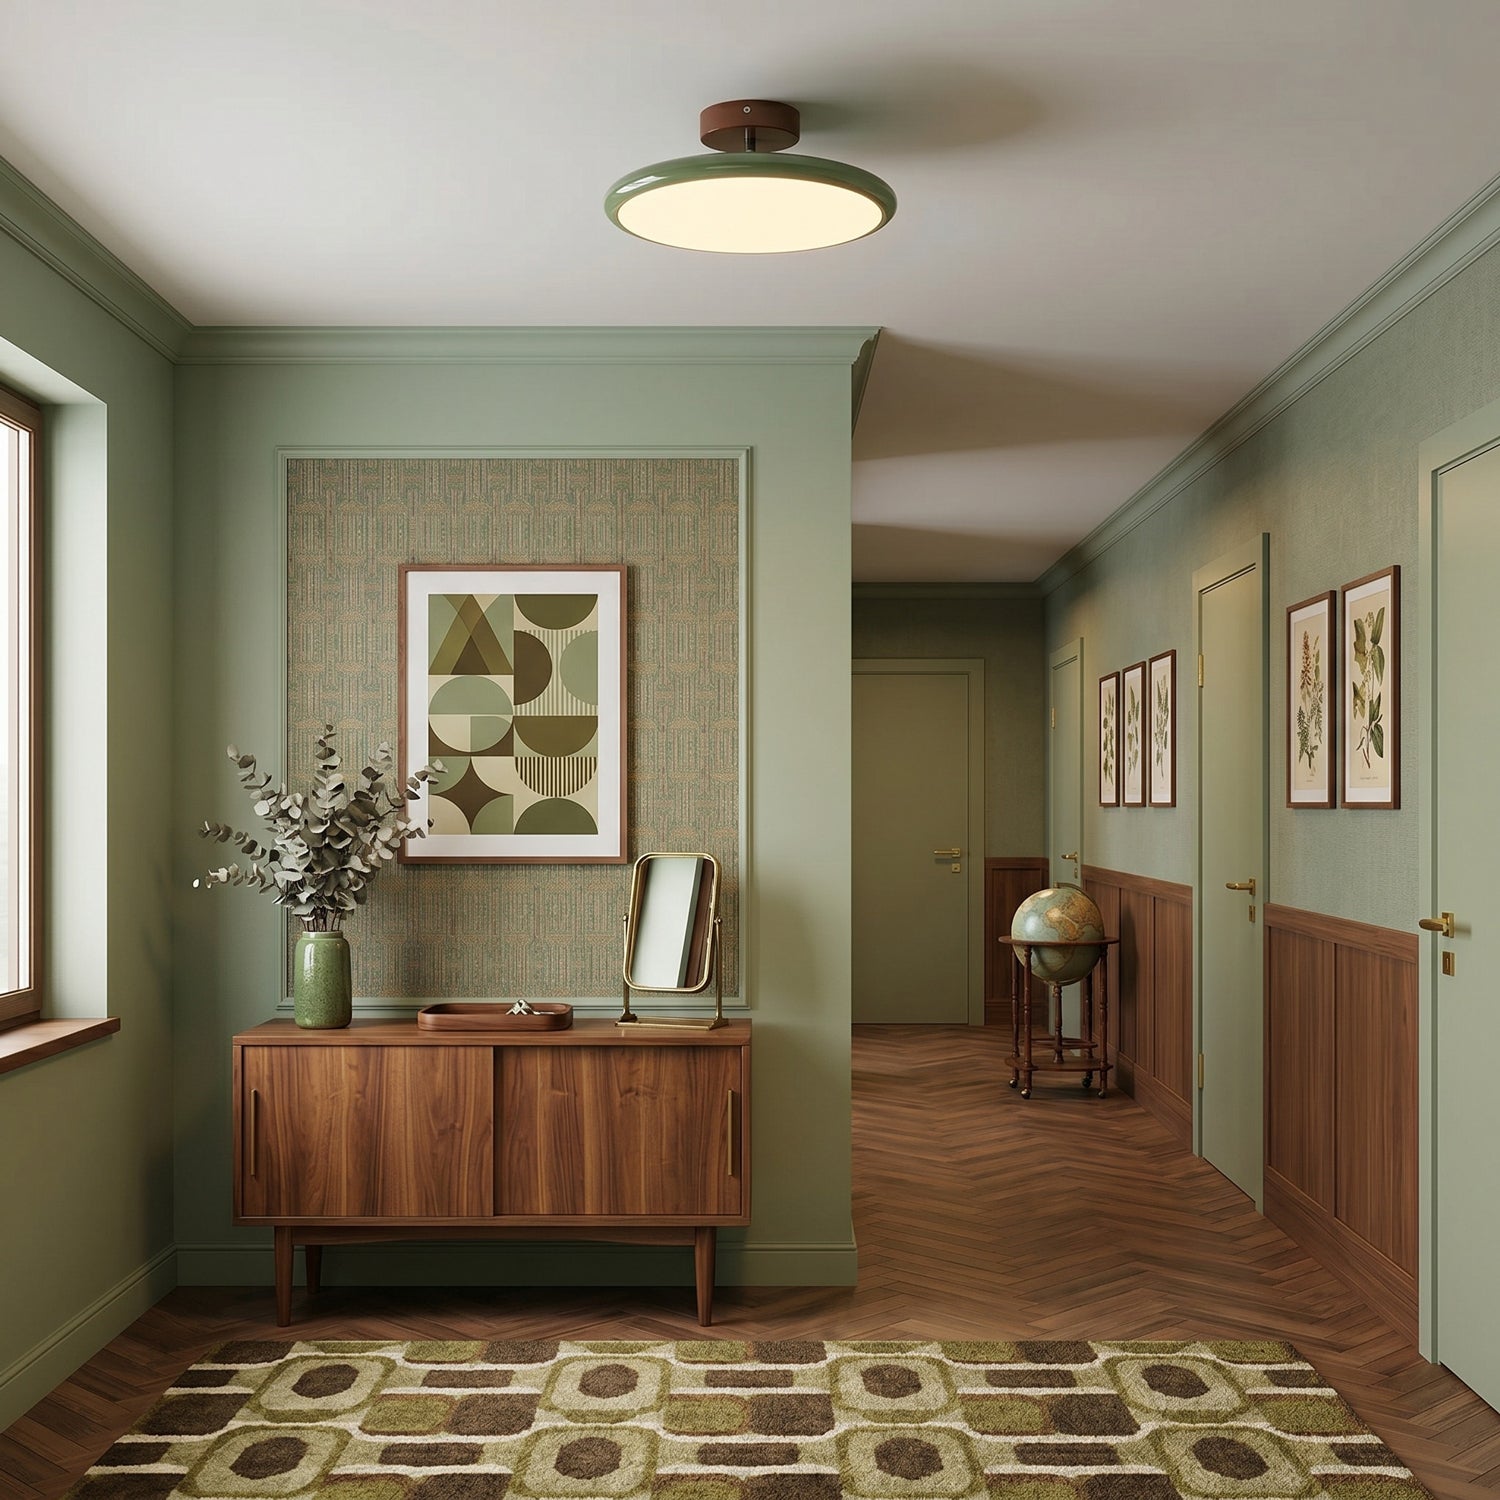
Modern Silhouette
Zayn Ceiling Lamp

Statement Piece
Hasos Ceiling Light
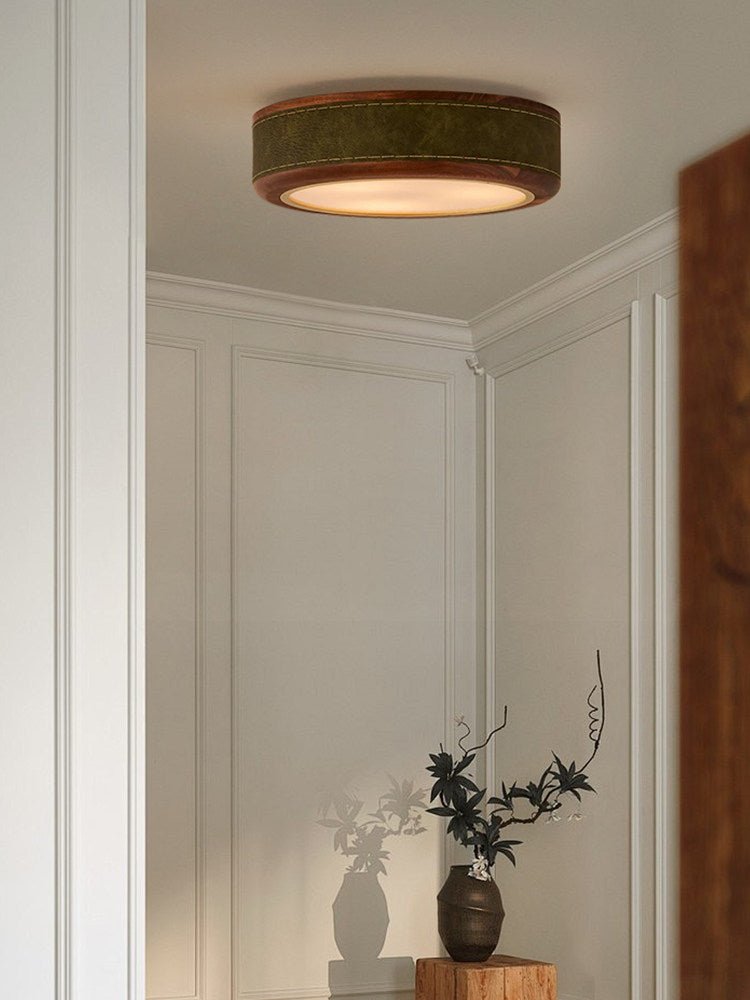
Understated Elegance
Sarah Ceiling Light